

Nebi UI
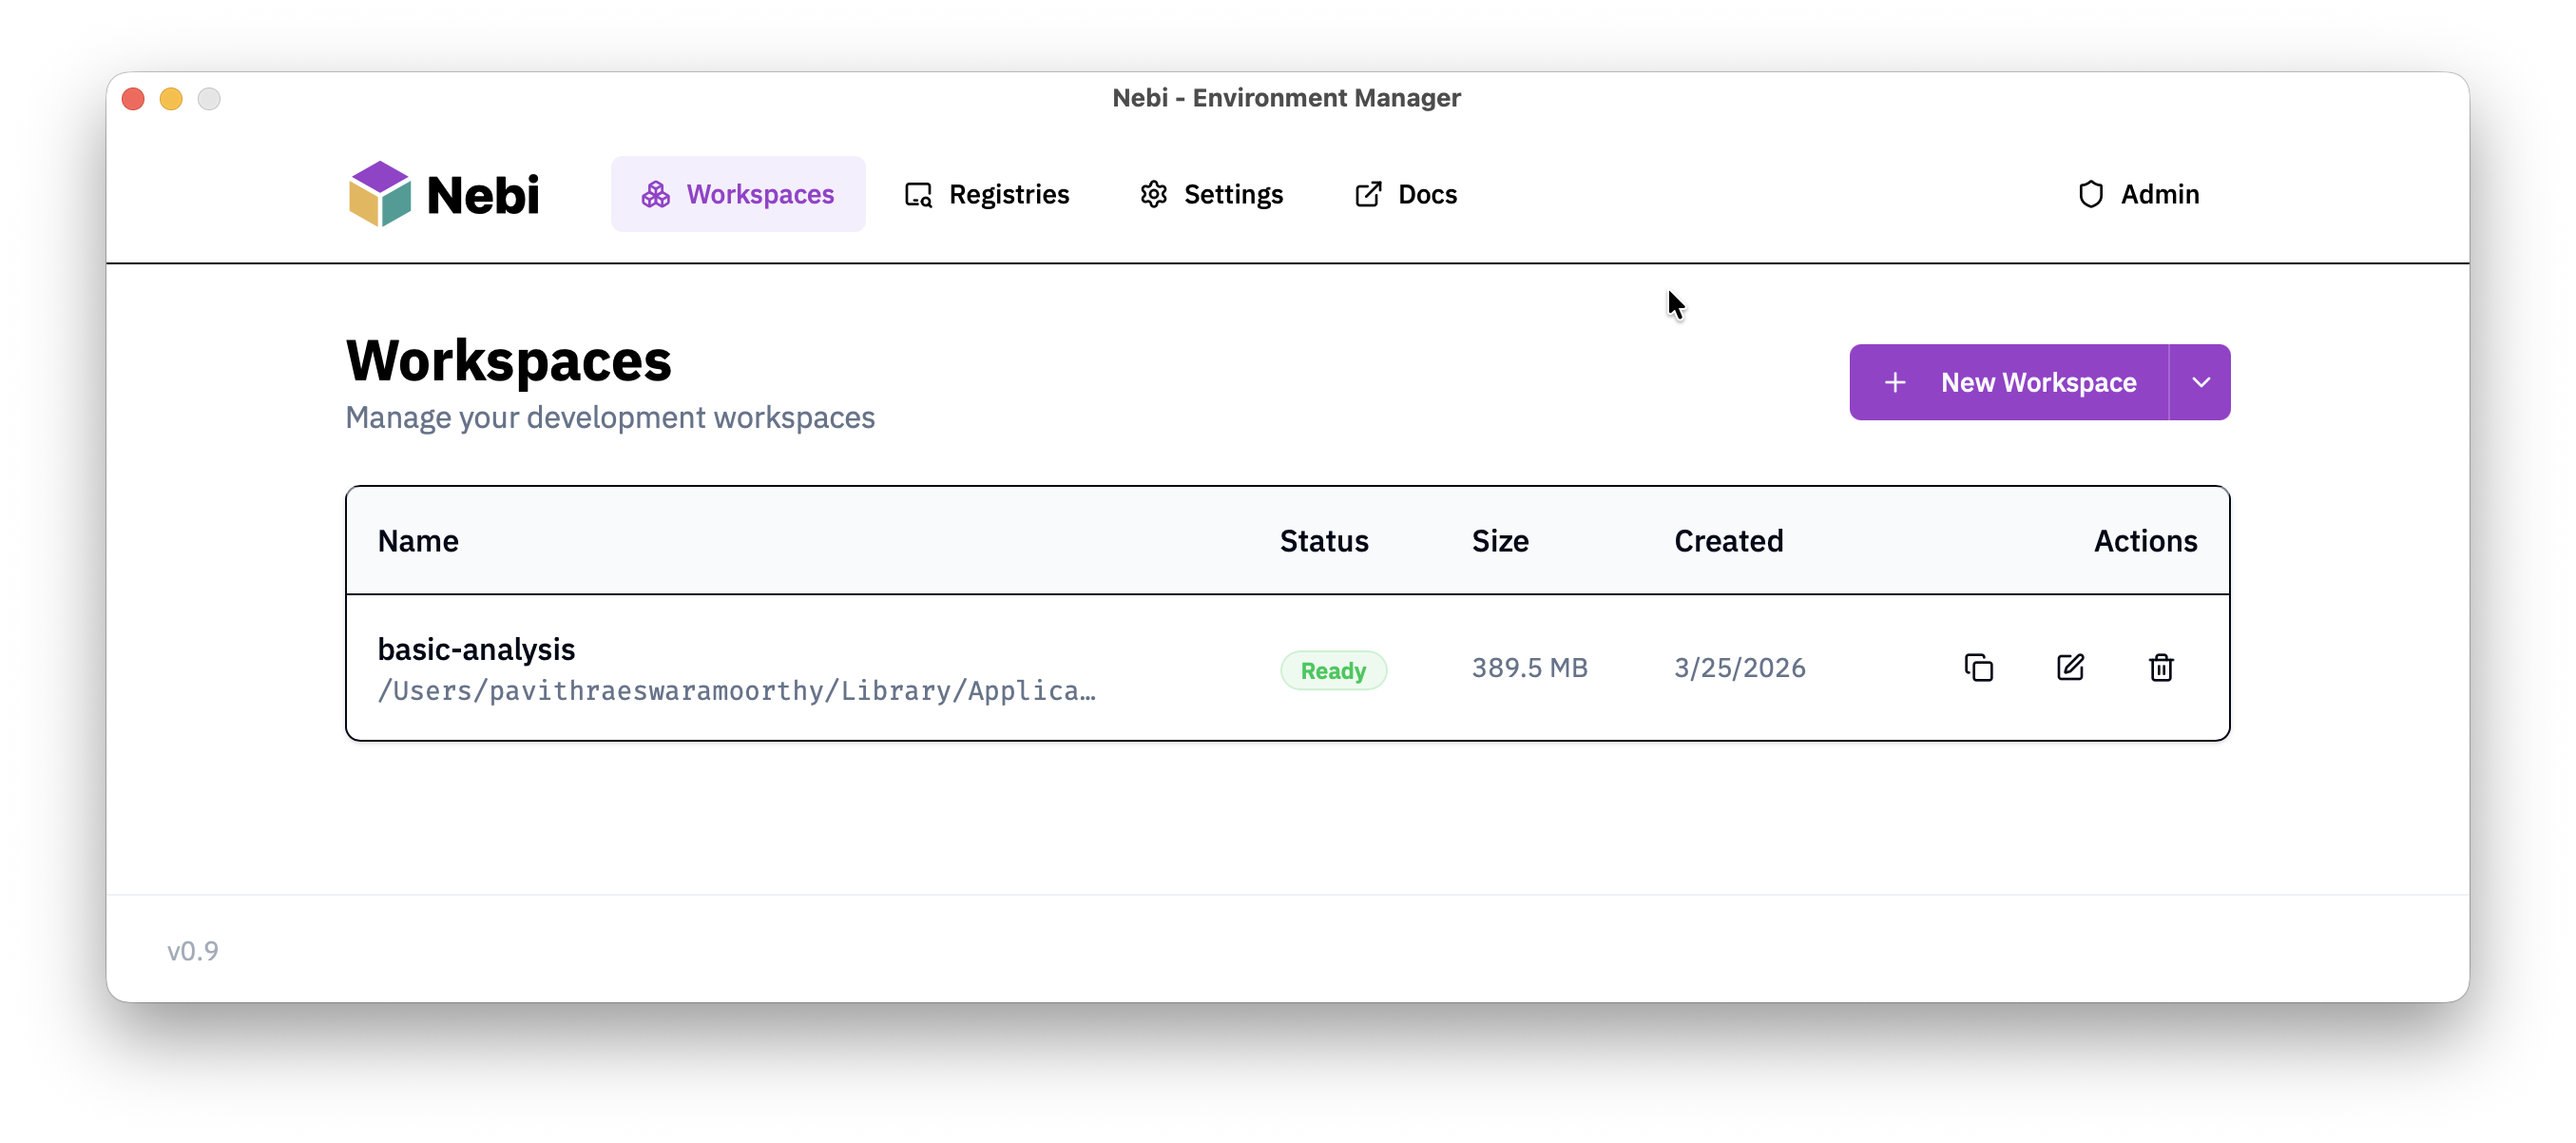
Nebi has a graphical interface you can use in two ways:
- Desktop app: a locally-installed application, started from your system Application drawer or from the CLI with
nebi-desktop. See installation for how to get it. - Nebi server: the web UI served by a running Nebi server at
http://localhost:8460. See Server Setup.
The screenshots and instructions below apply to either option.
Browse Public Registries
Section titled “Browse Public Registries”The UI includes a registry browser for discovering public environments. Open the Registries tab to see configured registries. If the one you want is not listed, click Manage Registries to add it.
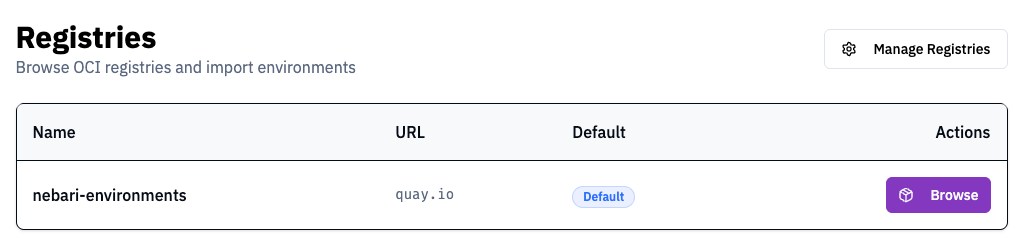
Click Browse on a registry to see every public repository under that namespace. Each row has a tag dropdown and a nebi import button that copies the command for the selected tag to your clipboard.
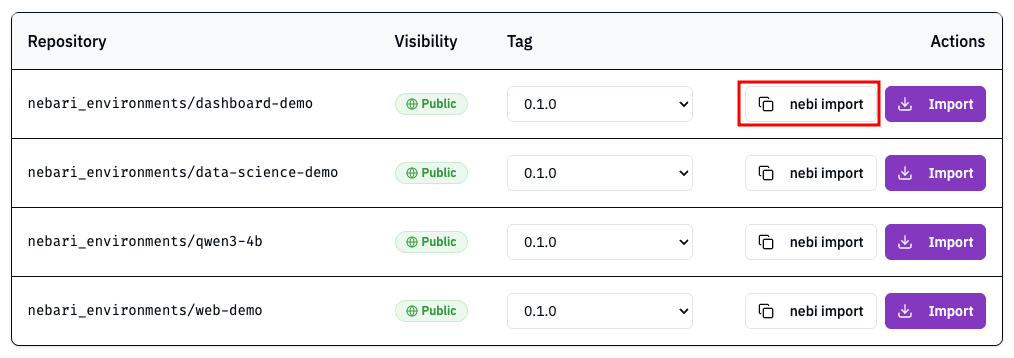
Pick a tag, click nebi import next to the repository you want, and paste the command into your terminal:
nebi import quay.io/nebari_environments/data-science-demo:0.1.0Groups (Admin)
Section titled “Groups (Admin)”Admins can manage groups to grant workspace, registry, and admin access to multiple users at once. Open the Admin → Groups page in the sidebar.
- Create a native group: click Create Group, give it a name + optional description. The group appears in the table with a “native” source badge.
- Manage members: click the people icon on a row to open the members dialog. Add or remove users.
- Delete a group: click the trash icon. OIDC-synced groups cannot be deleted from the UI — they’re managed by the IdP.
- Grant access: share a workspace with a group via the workspace’s Share dialog (User/Group toggle). Registry and admin grants for groups are admin-only operations.
OIDC groups (where the groups claim in the user’s ID token creates them automatically) display with a blue “oidc” badge and are read-only in the UI.
Identity Reviews (Admin)
Section titled “Identity Reviews (Admin)”Admins can review blocked external identity links from Admin -> Identity Reviews. A review appears when an OIDC, proxy-auth, or device-flow login presents an issuer/subject pair that is not yet bound to a Nebi user but its username or verified email claim collides with an existing account.
Each row shows the target user, issuer, subject, collision field, profile claims, status, and review time. Approve permanently binds that issuer/subject to the shown account and future logins use that binding even if username or email claims later change. Reject blocks that issuer/subject from linking to the account. Rejected reviews appear on the Rejected tab, where admins can Discard a rejected review so the same external identity can create a fresh pending review on its next login if a collision still exists.